Here’s an excerpt from the official Hugo documentation introduction.
Hugo is a static site generator written in Go, optimized for speed and designed for flexibility. With its advanced templating system and fast asset pipelines, Hugo renders a complete site in seconds, often less.
I’ve written a few articles on Medium before, but this is my first time starting a blog. The main reason is that I tend to forget solutions to problems I’ve solved after some time.
When I decided to start a blog, I hadn’t used any SSGs before. After a bit of research, I chose Hugo. Here’s why: I’m more comfortable with Go, so working with Go’s text/template and html/template feels natural. Also, Hugo makes it easy to manage content in both Burmese and English.
Blowfish is a theme designed for Hugo that includes support for Tailwind CSS v3, automatic image resizing, integrated site search, and more. You can explore additional features in the Blowfish documentation.
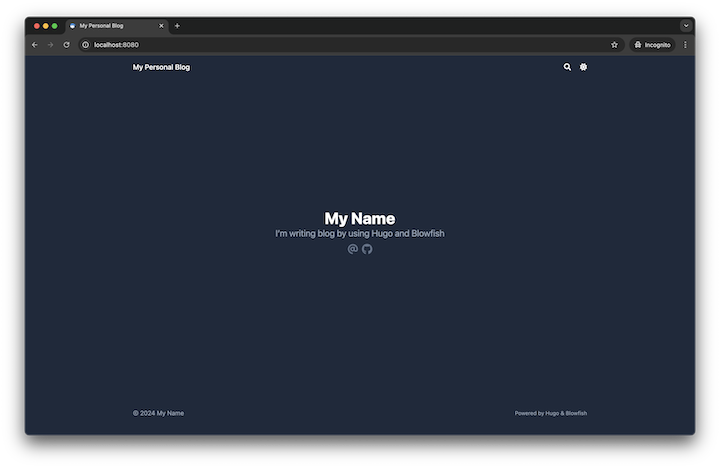
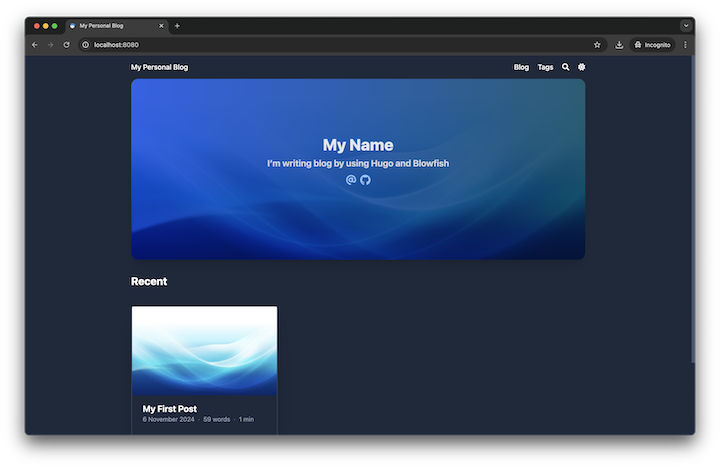
Update the following values in /config/_default/languages.en.toml:
title="My Personal Blog"[params.author]name="My Name"email="hello@myname.com"headline="I'm writing blog by using Hugo and Blowfish"bio="Freelance Developer"links=[{email="mailto:hello@myname.com"},{github="https://github.com/myname"}]
You’ll see the homepage update accordingly:Home page after changing languages.en.toml
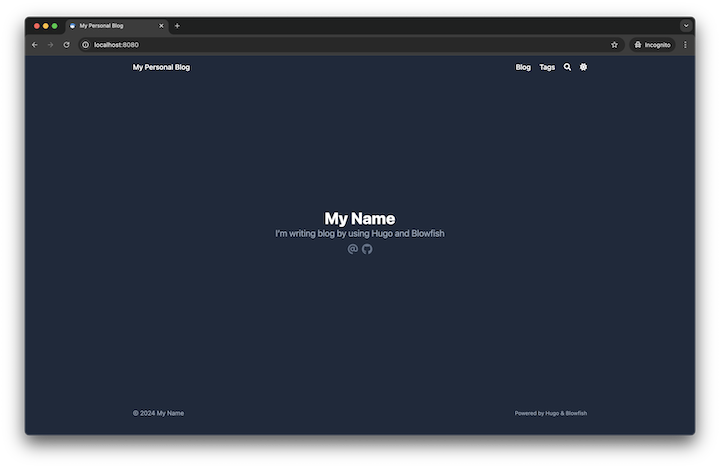
Update the following values in /config/_default/menus.en.toml:
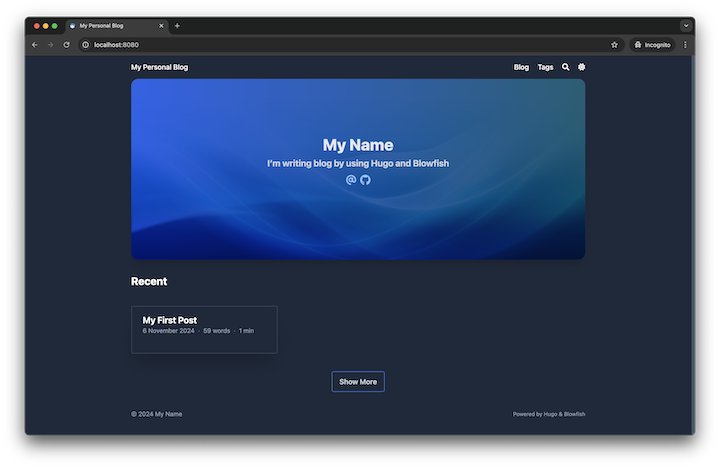
Update the following values in /config/_default/params.toml:
[homepage]layout="hero"homepageImage="images/hero_background.jpg"# hero_background.jpg should be in "/assets/images/"showRecent=trueshowMoreLink=truecardView=true
Hugo also supports other formats like HTML and Pandoc. You can check out the details here. Add a new Markdown post by running the command below:
hugo new content content/posts/my-first-post/index.md
Update the front matter in the generated index.md file as shown below, and use sample content from Lorem Markdownum:
+++
title = "My First Post"
date = 2024-11-06T10:10:00+00:00
draft = false
tags = ["hugo", "blowfish"]
slug = "my-first-post"
+++
Update the following values in /config/_default/params.toml:
[article]showAuthor=true
Home page after adding a new postNew post
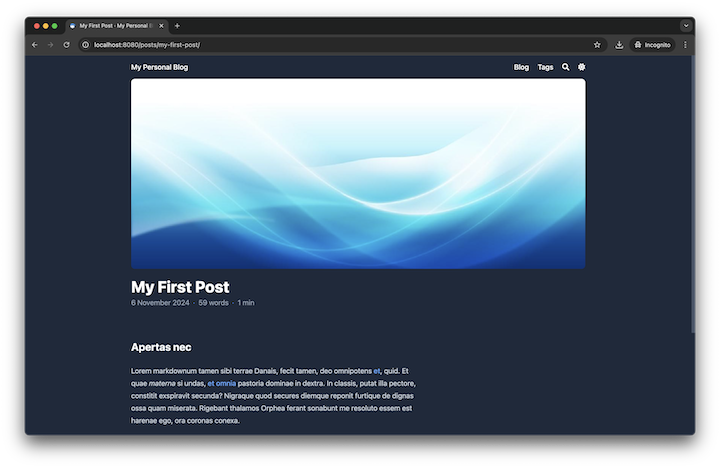
To add a hero section to the post and display the author information at the bottom of the page, update the following values in /config/_default/params.toml. Additionally, place a hero image in the same directory as index.md with the filename featured.jpeg.
You will notice the post changes as shown below:New post with hero imageThe post list item on the home screen will appear as shown below:Home list item with hero image
You can download the final project resulting from the steps above via this link.
Later, I’ll write about hosting the blog on GitHub Pages and using Hugo’s multilingual mode to post in both English and Burmese.
Author
Pyae Thu Aung
Software Engineering Manager @ Yoma Fleet | Ex Tech Lead @ OneKyat