What is Hugo?#
Hugo က ဘာလဲဆိုတဲ့ အကျဉ်းချုပ်ကို Hugo official documentation ထဲကနေပဲ အလွယ်တကူယူသုံးလိုက်ပါတယ်။
Hugo is a static site generator written in Go, optimized for speed and designed for flexibility. With its advanced templating system and fast asset pipelines, Hugo renders a complete site in seconds, often less.
Hugo ကို အခုမှစကြားဖူးတာဆိုရင် Fireship ရဲ့ Hugo in 100 Seconds video လေးကို အရင်ကြည့်စေချင်ပါတယ်။
Why Hugo?#
Hugo offers a variety of powerful features, including support for multilingual, templates, rich content formats, easy-to-use shortcodes, and image processing.
ကျွန်တော်အရင်က Medium မှာ article လေး နဲနဲပါးပါးရေးဖူးပေမယ့် blog ကို အခုမှစရေးဖြစ်တာ။ စရေးဖြစ်တဲ့အကြောင်းကလည်း ကိုယ်တွေ့ကြုံဖြေရှင်းခဲ့ဖူးတာတွေကို အချိန်နဲနဲကြာလာတာနဲ့ မမှတ်မိတော့တာကြောင့်ကအဓိကပါ။ Blog စလုပ်မယ်ဆိုတော့ SSG တွေကလည်း တခုမှမသုံးဖူးတာနဲ့ နည်းနည်းပါးပါးလိုက်ရှာပြီး Hugo ကိုပဲ သုံးဖြစ်လိုက်တယ်။ အဓိကက ကိုယ်က Go နဲ့ ပိုရင်းနီးတော့ Go’s text/template နဲ့ html/template လိုမျိုးတွေ သုံးဖို့လိုလာရင် ပိုရင်းနီးတာကြောင့်ရယ်၊ မြန်မာလို ရော English လိုရောကို အဆင်ပြေပြေပြောင်းလို့ရတာတွေကြောင့်လို့ ပြောရမယ်။
What is Blowfish?#
Theme အတွက်က Blowfish ကို သုံးဖြစ်လိုက်တယ်။ Automatic image resizing၊ integrated site search နဲ့ documentation ကောင်းလို့ပါ။ Documentation အသေးစိတ်ကို ဒီမှာ ကြည့်လို့ရတယ်။ သူက Tailwind CSS v3 နဲ့။
Setting Hugo on Local#
Prerequisites#
Hugo ကို local မှာ run ဖို့ဆိုရင် Git နဲ့ Go လိုမယ်။ Dart Sass ကတော့ သာမန် blog အတွက်မလိုပါဘူး။
Git ကို Hugo Modules သုံးမယ်ဆိုရင်၊ theme ကို Git Submodule နဲ့ သွင်းမယ်ဆိုရင်နဲ့ blog ကို GitHub Pages ပေါ်မှာတင်မယ်ဆိုရင် မဖြစ်မနေလိုမယ်။
Installation#
Installation ကို Homebrew နဲ့ပဲ လုပ်လိုက်တယ်။
brew install hugoတကယ်လို့ Homebrew မရှိသေးရင် အောက်က script နဲ့ အရင် install လုပ်ဖို့လိုမယ်။
/bin/bash -c "$(curl -fsSL https://raw.githubusercontent.com/Homebrew/install/HEAD/install.sh)"Setting Up#
- အရင်ဆုံး Hugo project တခု set up လုပ်မယ်။ နာမည်ကတော့
personal-blogလို့ပဲပေးလိုက်မယ်။hugo new site personal-blog cd personal-blog hugo mod init github.com/pyaethu-aung/personal-blog hugo mod tidy - Theme အနေနဲ့ Blowfish ကို သုံးဖို့အတွက် configuration files တွေကို ဒီ link ကနေ လုပ်ပီး
/config/_defaultdirectory ထဲမှာထည့်ပေးရမယ်။ - ပြီးရင် Blowfish ကို Hugo module အနေနဲ့ သုံးဖို့အတွက် အောက်က configuration ကို
config/_default/module.tomlfile မှာထည့်ပေး။[[imports]] disable = false path = "github.com/nunocoracao/blowfish/v2" - Theme လည်း set up လုပ်ပြီးပြီဆိုရင် အောက်က command နဲ့ localhost 8080 မှာ blog ကို ကြည့်လို့ရပြီ။
hugo server --port 8080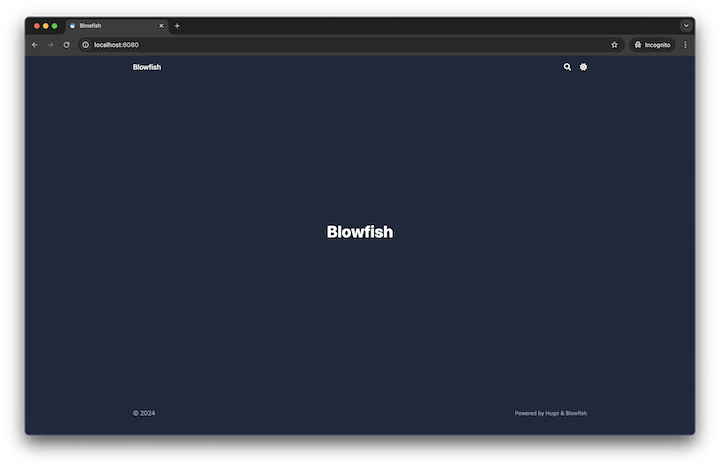
Home page after initial set up
Configuration#
/config/_default/languages.en.tomlမှာ အောက်ကအတိုင်း blog ရဲ့ ခေါင်းစဉ်၊ ကိုယ့်နာမည်၊ email၊ GitHub link စတာတွေကို configure လုပ်ပေး။File ကို save လိုက်ရင် home page မှာ ကိုယ်ပြင်လိုက်တဲ့အတိုင်း hot reload နဲ့ မြင်ရမယ်။title = "My Personal Blog" [params.author] name = "My Name" email = "hello@myname.com" headline = "I'm writing blog by using Hugo and Blowfish" bio = "Freelance Developer" links = [ { email = "mailto:hello@myname.com" }, { github = "https://github.com/myname" } ]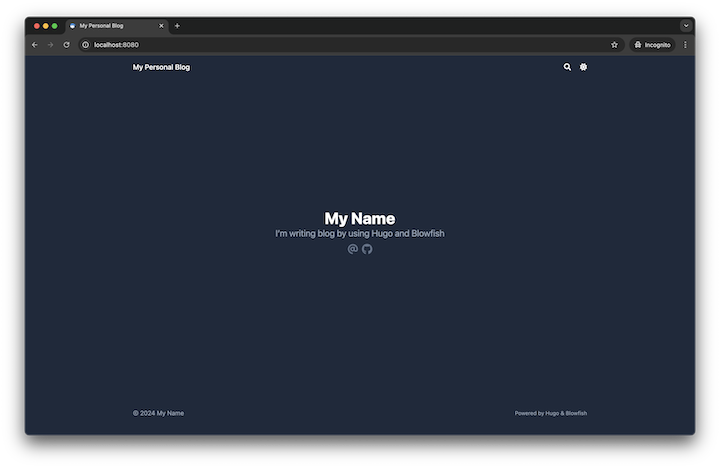
Home page after changing languages.en.toml- Menu အတွက်က
/config/_default/menus.en.tomlမှာ posts နဲ့ tags configuration တွေကို uncomment လုပ်ပေးလိုက်ရုံပဲ။ Blowfish က post တင်တာနဲ့ အလိုလိုထည့်ပေးသွားပါလိမ့်မယ်။[[main]] name = "Blog" pageRef = "posts" weight = 10 [[main]] name = "Tags" pageRef = "tags" weight = 30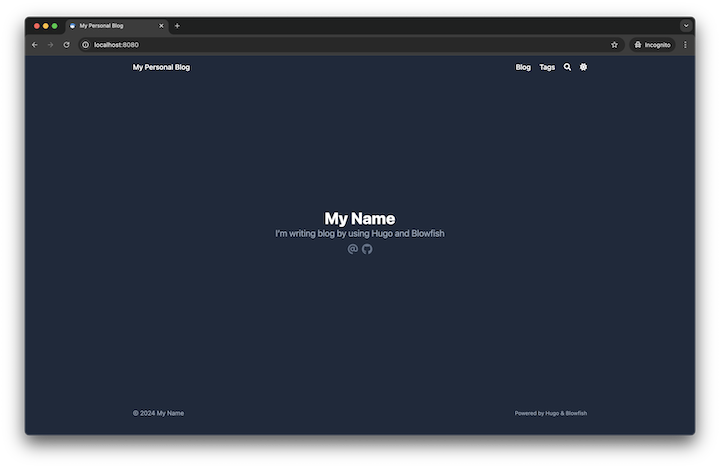
Home page after changing menus.en.toml - ကျွန်တော်က home page ကို hero layout ထားချင်တာ။ ပြီးတော့ နောက်ဆုံးတင်ခဲ့တဲ့ post တွေကိုလည်း တခါတည်းမြင်ချင်တာဆိုတော့
/config/_default/params.tomlမှာ အောက်က configuration အတိုင်း ပြောင်းလိုက်ပါတယ်။ ဒီမှာဆိုရင်hero_background.jpgfile က/assets/images/ထဲမှာရှိနေဖို့တော့လိုမယ်။[homepage] layout = "hero" homepageImage = "images/hero_background.jpg" showRecent = true showMoreLink = true cardView = true
Home page after changing params.toml
Add a New Post#
- Markdown file နဲ့ post အသစ်တခု စလုပ်လိုက်မယ်။ Markdown မဟုတ်ပဲ HTML နဲ့ Pandoc လို format တွေနဲ့လည်းရတယ်။ ဒီ link မှာ အသေးစိတ်ကြည့်လို့ရပါတယ်။
hugo new content content/posts/my-first-post/index.md index.mdရဲ့ front matter ကို အောက်ကအတိုင်း ထည့်လိုက်မယ်။ ဒီမှာထည့်ထားတဲ့tagတွေကို tags menu ထဲမှာ စမြင်ရပါလိမ့်မယ်။ Sample content လိုချင်ရင် Lorem Markdownum မှာသွားလုပ်လို့ရပါတယ်။+++ title = "My First Post" date = 2024-11-06T10:10:00+00:00 draft = false tags = ["hugo", "blowfish"] slug = "my-first-post" +++- Post မှာ author information ပြဖို့အတွက်က
/config/_default/params.tomlထဲမှာarticleအောက်ကshowAuthorကိုtrueလို့ ပြောင်းပေးရုံပါပဲ။[article] showAuthor = true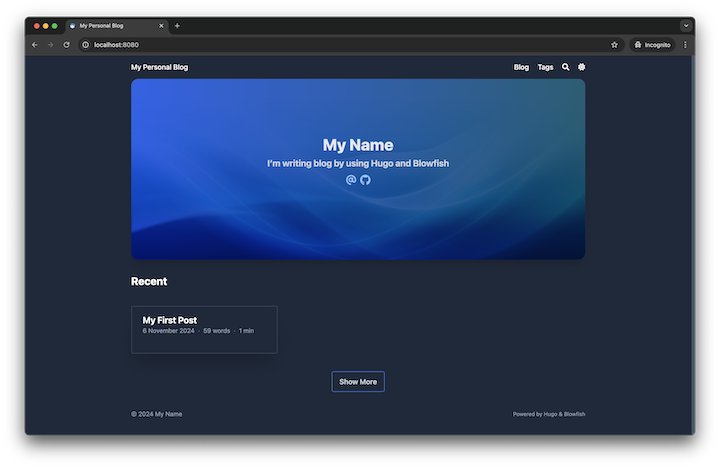
Home page after adding a new post 
New post - Post ထဲမှာ hero section ထည့်ဖို့နဲ့ author information ကို post အောက်မှာ ပြဖို့အတွက်က
/config/_default/params.tomlမှာ အောက်ကအတိုင်း ပြောင်းပေးရပါမယ်။ Hero imagefeatured.jpegကိုindex.mdfile နဲ့ folder အတူတူထားပေးဖို့လိုပါမယ်။[article] showAuthorBottom = true showHero = true heroStyle = "big"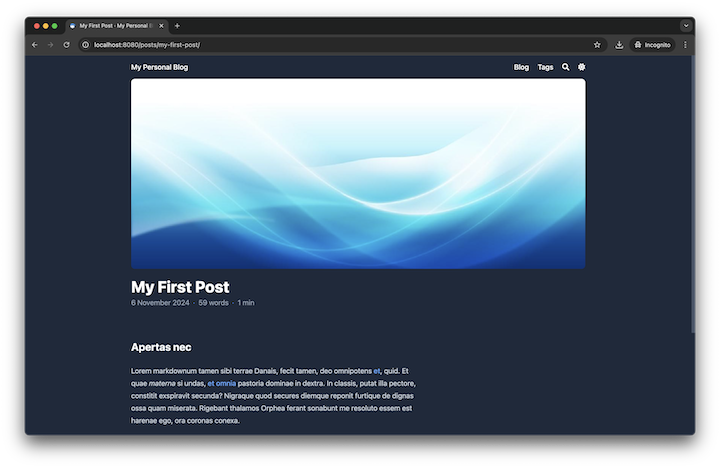
New post with hero image 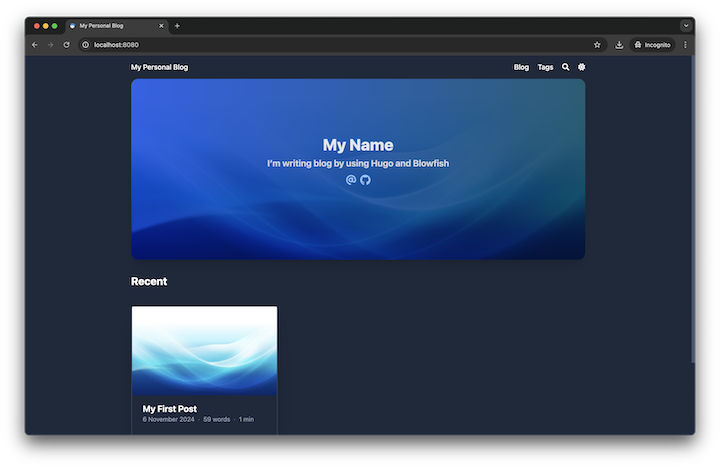
Home list item with hero image
အပေါ်က အဆင့်ဆင့်လုပ်လာခဲ့ပြီးတဲ့ project ကို ဒီ link မှာ download လုပ်လို့ရပါတယ်။
နောက်ပိုင်းမှ blog ကို GitHub Pages မှာ host လုပ်တာနဲ့ post တွေကို Hugo ရဲ့ multilingual mode နဲ့ English မြန်မာ နှစ်မျိုးတင်တာကို ထပ်ရေးပါဦးမယ်။